Clone A Project
The clone project feature creates a new project using an existing project as a template. The intent of this feature is to create a functionally equivalent clone as a starting point for a new project. The clone process collects a new name and domain for the clone and uses that new name to replicate much of the configuration and some data from the source project.
The following list elements of configuration and data are inherited from the template project:
- Cascade Project Configuration
- User membership and permissions
- Environment selection
- Database groups
- Asset groups
- GitLab Project Configuration
- User membership and permissions
- Project feature settings
- GitLab Project Data
- Protected branches
The following elements of configuration are expected to be altered after the project clone:
- File Template Step Value fields
- Script Step Contents field
- Database names and users
Prerequisites
You must have the System Admin privileges in Cascade in order to create a new project. Use the System Admin Verification guide to confirm before proceeding.
The group and project you wish to clone must have the visibility set to ‘Public’ to allow the repo to be cloned.

Clone An Existing Project
To begin, navigate to the My Projects listing pictured.

Step 1: Create Clone
- Locate the project to use as the source of the clone. Keep in mind, the type of project cannot be modified as part of the clone operation.
- Click the actions button to the right of the source project, a dropdown will appear.

- Select clone from the available options, the project clone form will pop-up.
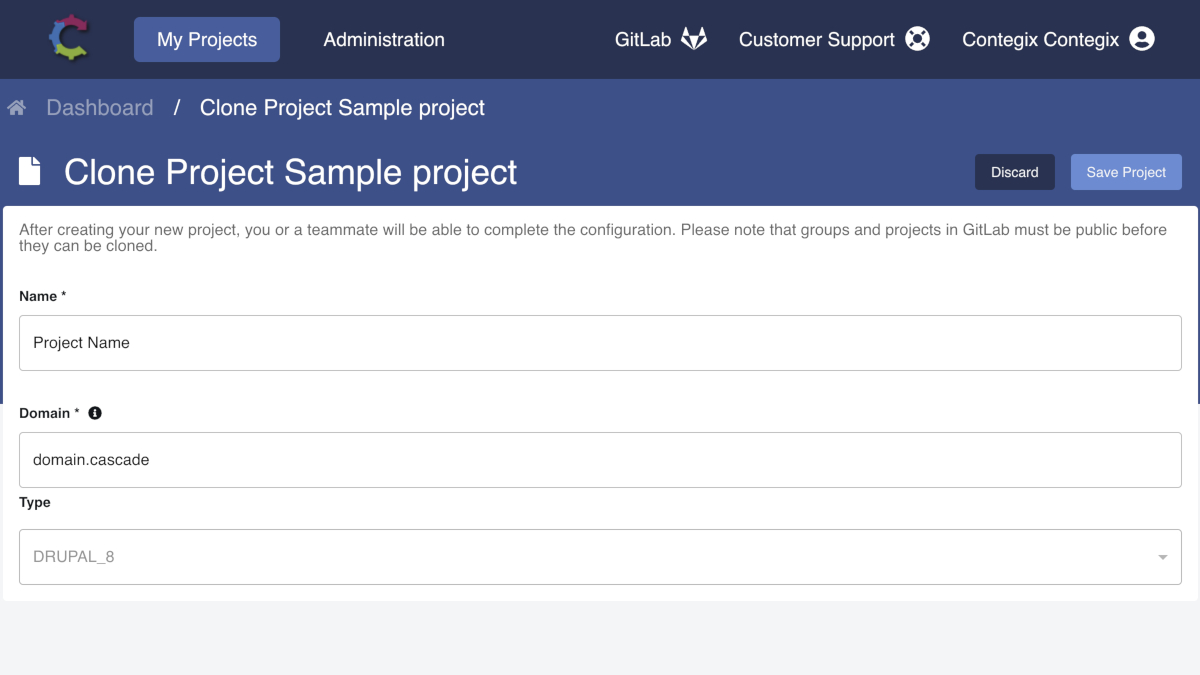
- Fill in the Name and Domain for the duplicate project.
- The name field will be used to to replace certain data in the resulting clone.
- Click the Save Project button at the top of the page to create the clone.
- Wait a few moments while the clone is being completed. When the operation is complete, the browser will be redirected to the My Projects listing. Please wait for this to happen.
Step 2: Update Configuration
- Verify the new project has the expected configuration items.
- Verify Database Groups
- The Database Groups will be copied as-is with only new passwords being generated for them. Pay special attention to database names in shared environments.
- Ensure the configuration as presented is correct for the new project.
- Update File Template Steps
- All file template steps will have the same keys as the source but the values will be set to UNSET by default.
- Add the details from the Database Groups and any other environment information the new project may need.
- Update Script Steps
- All script steps will exist from the source project but the script contents will be emptied.
- Alter these scripts to fit the new environment as needed.