Add A Project
Websites and applications are added to Cascade using projects as a top-level container. Each Cascade instance can contain any number of projects, and each project can manage a single codebase, multiple databases, multiple assets, and multiple links.
Prerequisites
You will need to log into Cascade as a Project Administrator to add Projects. In order to check your permissions, please navigate to the My Projects tab, you should see a display similar to below. If your navigation bar does not include the “ADD NEW PROJECT” button, your account does not have sufficient privileges to proceed.

Add A New Project
You should arrive at the project dashboard when you login, but, if you do not, click the my projects button to get there.
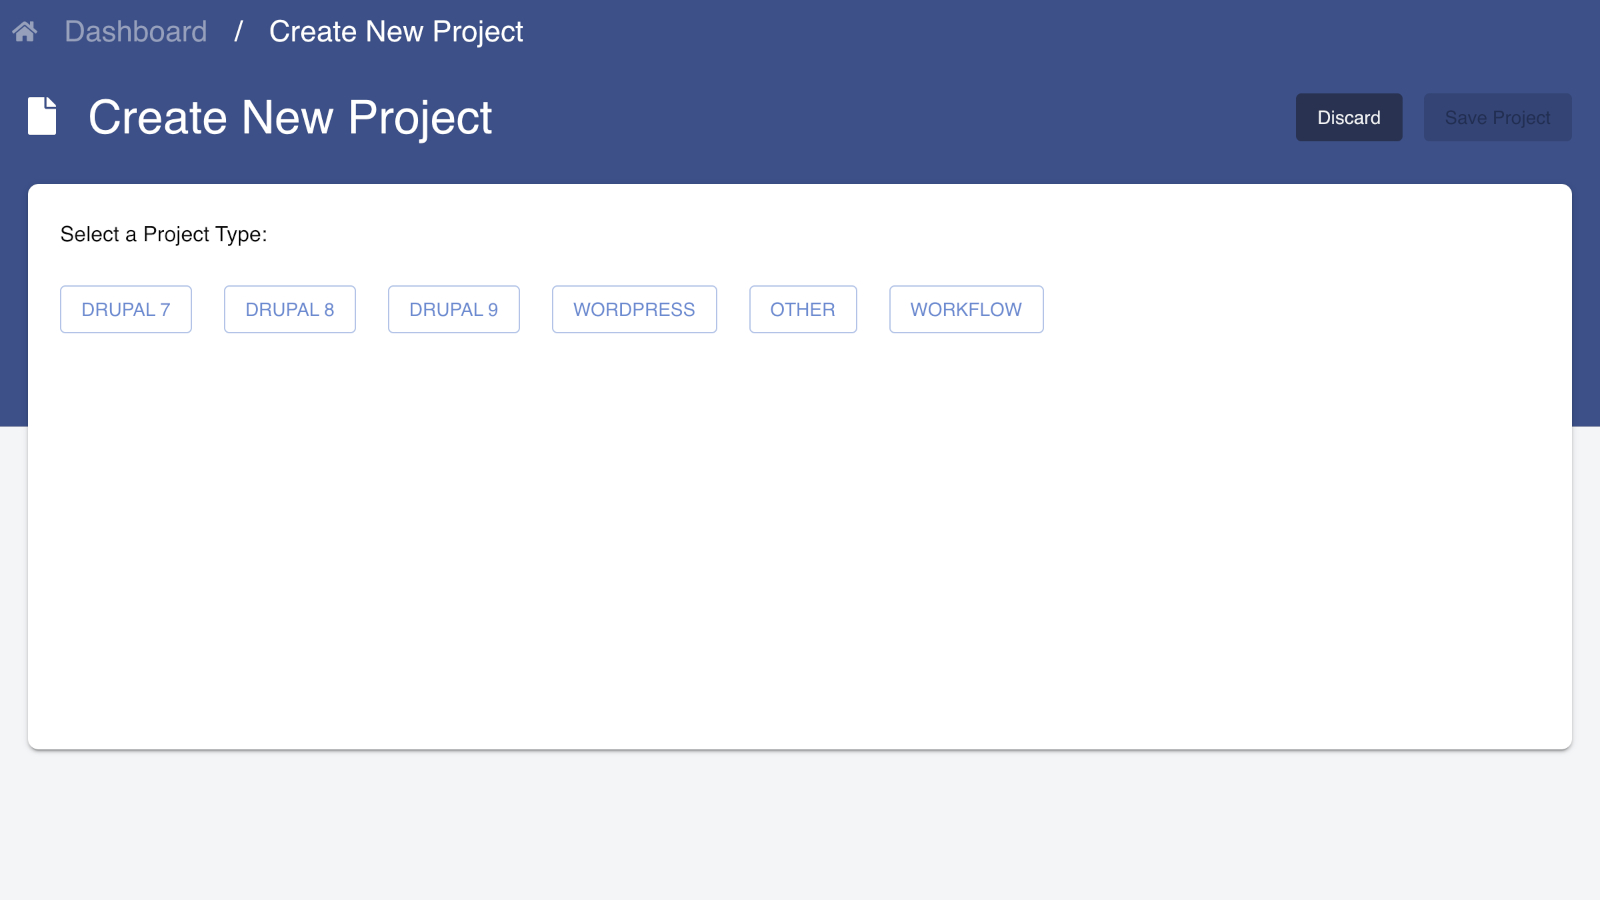
Step 1: Select Project Type
Click add a new project button at the top-right of the page, you will arrive at the project type selection form.
The project types available are:
- Drupal 7/8/9 - Preselected features: Pipelines, Code, Databases, Assets, Links, default settings.php template starter.
- Other - Preselected features: Pipelines, all features are available, typical systems targeted: Non-CMS, Static HTML, Node.js, Spring, Rails, Symfony, Django, etc.
- Wordpress - Preselected features: Pipelines, Code, Databases, Assets, Links, default wp-config.php template starter.
- Workflow - Preselected features: Pipelines, automation project for scripting.
Select the project type by clicking one of the buttons, this will take you to initial project details page.
Step 2: Add Project Information
- Enter the project name of your choice.
- Enter the live domain you will eventually launch on.
- Ensure the project type you selected is shown.

Click the next: Environments button when you are ready to continue.
Step 3: Select Environments
- Decide what environments this project should use.
- Production and Development will always be selected but you can add any others you would like to use by clicking the plus-icon on the one you would like from the available environments listed in “Deselected Environments” at the bottom of the form.
- When you click on a Deselected environment, it will be added to the “Selected Environments” list.
- You can also remove selections by clicking the X icon next to the environment.
- The screen below corresponds to selecting the Development, Staging, and Production environments.
- Click the Next: Code button when you are ready to proceed.

Step 4: Adjust Code Settings
- Assuming you would like to start with a clean repository there is nothing you need to change here you should have a form resembling the screenshot below.
- Click the “Save Project” button at the top of the page, and in a few moments, you project will be created.
- A message should pop-up at the bottom of the page when the process completes.
- Click the “My projects” button to find your new project in the project dashboard.

If you have more advanced requirements or would like to import your codebase from a remote source, there are more options available on the code form to use. You can change these options after your project is created.
Considerations for Code
On the Code tab you may run into issues with moving past this step with regards to various field values. While an error with the red text explaining the issue will be displayed, you may need additional context for the issue provided here.
Webroot: the full path can only contain alphanumeric characters and underscores. Periods or hyphens are not allowed.
Repository Group: this refers to the namespace within Gitlab. Gitlab makes not distinction in namespace as to whether its a user or a group. So be sure to pick a repository group (namespace) that belongs to a group and that it’s not contegix (as this is a special user)
Tag vs. Branch Based Deployments: Cascade supports two methods of code deployments: tag and branch based.
In a tag-based deployment, you set an environment to a particular branch and any upstream environment to the same branch, Cascade will create a tag for that shared branch. Then during the deployment process (for example, from testing to production) Cascade will simply check a tag out onto the machines in the target environment. This has the requirement that all upstream environments have the same branch. In this model, you can’t have the following setup: Development has branch dev → Staging has branch master → Testing has branch qa → Production has branch master. You can however have a branching model like Development on a feature branch, then Staging, Testing, and Production are all on the master branch (tag based).
Branch-based deployments you set each environment to their own branch and a promotion between environments is done through a Merge Request in Gitlab which is then deployed to the target environment. The downside to this approach is that now you will have a merge commit in your repository history. Both methods are valid and are ultimately your decision as to which is better for your workflow and project.